Customer Contact Wizard
The Customer Contact Wizard provides the ability to communicate via email with customers, contacts, and owners. The wizard guides users through the entire communications workflow, including recipient selection, composition, and release. The Customer Contact Wizard is accessed through the Miscellaneous menu.
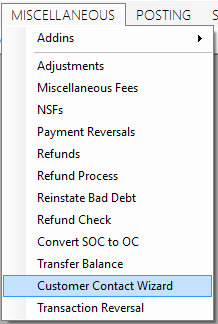
Figure 629: Miscellaneous Menu
Prerequisites
Email Server Configuration
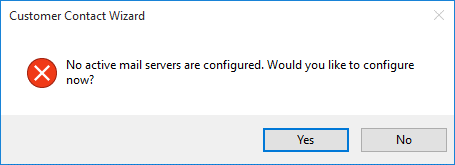
Before using the Customer Contact Wizard, the email server must be configured through the Application Setup window. The wizard will notify users if no active mail server is found and will allow users with appropriate permission to go directly to the mail server configuration window.
Figure 630: No Active Mail Server
AMS Configuration
Before RoboCall or SMS can be used they must be configured through Tools.
Email Address Setup
Customers, contacts, and owners can only receive emails if an email address is set up for them in UMS.
For customers and owners, email addresses are entered through the customer control panel’s Customer tab, Address sub-tab. Email addresses for contacts are added through the Contact tab and Email sub-tab of the selected contact.
Phone Number Setup
Customers, contacts, and owners can only receive RoboCalls if a phone number is set up for them in UMS.
Customers, contacts, and owners can only receive SMS if a phone number is set up for them in UMS, and they are subscribed to receive SMS notifications.
For customers and owners, phone numbers are entered through the customer control panel’s Customer tab, Address sub-tab. Phone numbers for contacts are added through the Contact tab and Phone sub-tab of the selected contact.
It is possible to subscribe customers SMS notifications by going to Management => Import Customers To Twilio within UMS. Customers also have the option to opt into SMS notifications through CWP 2.0 and texting their companies short code to 67332.
Security Permissions
To access the Customer Contact Wizard, User/Role must have the correct permissions.
The User/Role must have Delete permissions on the Customer Contact Wizard item to have access. The Customer Contact Wizard's permission setting is found in the Security Control Panel in the Permissions tab under the Statements group.
Limit Options
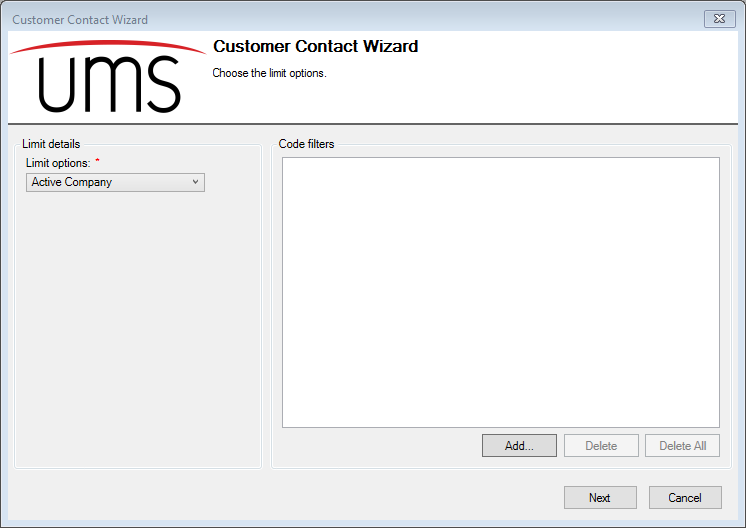
Figure 631: Standard Limits
The standard limits options and code filters are used to narrow the results to the desired set of customers.
Additional Limit Options
Figure 632: Customer Contact Options
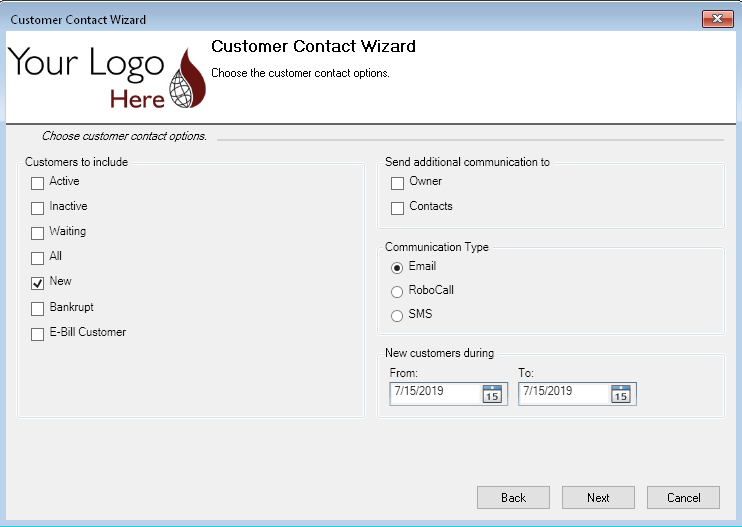
The wizard step “Choose the customer contact options” provides additional customer selection features that work the same as the standard Customer List Report. This screen also allows users to include location owners and customer contacts.
Selecting the “Owner” checkbox includes the owner of the customer’s location in the recipient list when the owner has an email address, even when the customer does not have an email address. The owner is the customer listed in the Owner tab of the Customer Control Panel.
Selecting the “Contacts” checkbox sends an email to the primary email address for all of the customer’s contacts flagged to receive email notices, even when the customer does not have an email address.
Selecting the "Email" radio button will result in the customer receiving an email.
Selecting the "RoboCall" radio button will result in the customer receiving an automated phone call.
Selecting the "SMS" radio button will result in the customer receiving a text message.
Review Selection Results
Figure 633: Selection Results

The review list shows potential recipients.
Account No: the account number of the customer at the location.
Linked Account No: the account number for the customer or owner. Note: Contacts do not have account numbers.
Type: the description of the recipient. Types are Customer, Contact, or Owner.
Customer Name: the name of the recipient.
- Destination
Email Address: the email address of the recipient.
Phone Number: the phone number of the recipient.
SMS Number: the sms number of the recipient.
After confirming that the list contains the expected recipients, click Next to continue to the message composition step.
Compose Email
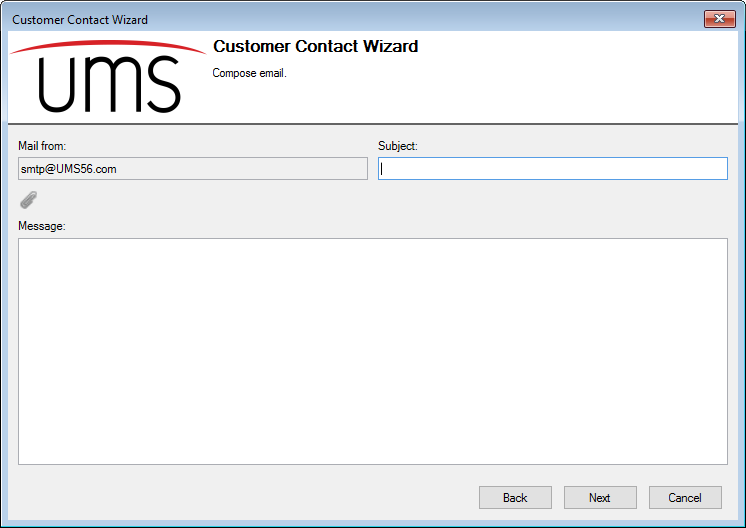
Figure 634: Email Composition
A subject and message must be entered in order to send the email. The message may be plain text or HTML. Plain text messages will be received without formatting or line breaks. For more control over the display of messages, create the message using HTML.
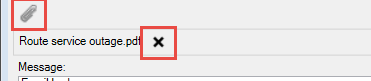
Attachments can be added by clicking the paper clip icon  .
These attachments can be removed by clicking the X next to the
attachment’s name. Note that some mail servers restrict the size of
attachments, so file size should be considered when sending attachments.
.
These attachments can be removed by clicking the X next to the
attachment’s name. Note that some mail servers restrict the size of
attachments, so file size should be considered when sending attachments.
Figure 635: Attachment Handling
Clicking Next displays a confirmation window with the number of emails that UMS will attempt to send.
Figure 636: Confirmation
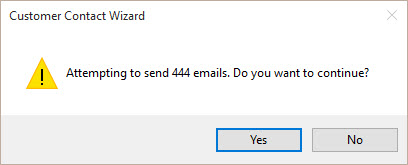
Clicking the No button returns to the Email Composition window. Clicking the Yes button begins processing the emails.
As emails are sent, a note is saved to the customer or owner.
Figure 637: Account Note

Compose SMS/RoboCall
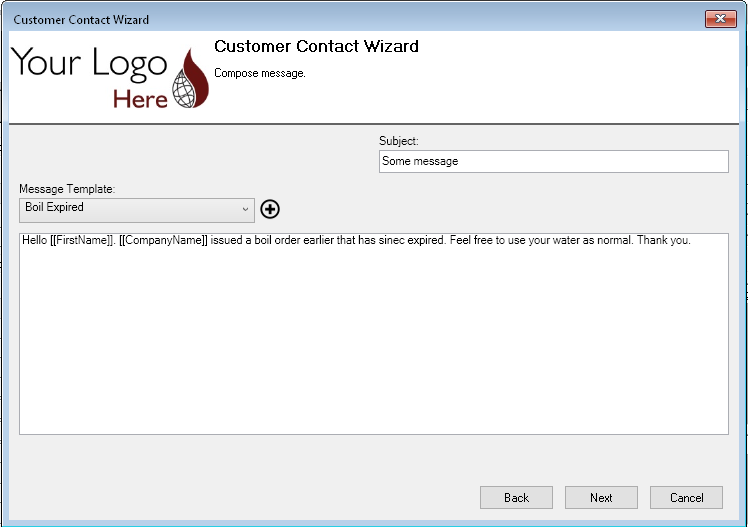
Figure 634: Message Composition
A subject must be entered and a message template must be selected in order to send the robocalls or text messages.
Clicking Next displays a confirmation window with the number of customers that will receive the automated message.
Figure 636: Confirmation
Clicking the No button returns to the Message Composition window. Clicking the Yes button begins processing the automated messages.
As messages are sent, a note is saved to the customer or owner.
Figure 637: Account Note
Review Results
Figure 638: Review Email Results
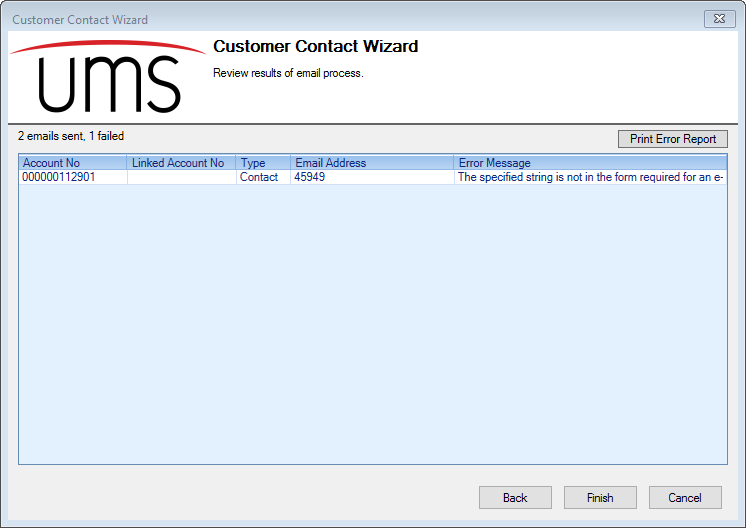
The Review Results page displays the number of successes and failures. For failures, a table is displayed with the recipient information and the error message for each failure. The Print Error Report button creates a standard UMS error report with this information.
Note: a “sent” message means only that the server accepted the message for delivery, but not that the message has been or will be actually delivered to the recipient. The message could be bounced or rejected at any other point in the delivery chain. This is an inherent limitation in any messaging system and not an issue introduced by UMS.